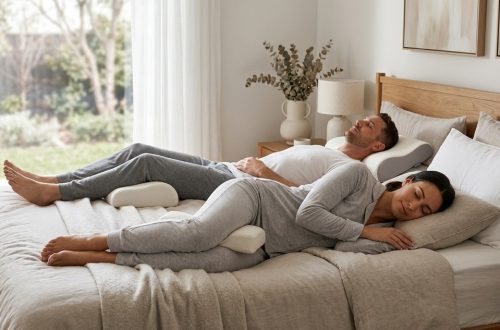
Lower back pain doesn’t have to control your day. Whether you’re dealing with a dull ache that showed up after moving furniture or chronic discomfort that’s been your companion for months, the right yoga poses can help you find relief without reaching for medication. The beauty of yoga for back pain lies in its dual approach: it strengthens the muscles that support your spine while gently releasing tension that’s been building up in tight tissues.
Specific yoga poses for lower back pain can reduce discomfort by strengthening core muscles, improving flexibility, and releasing tension in the lumbar region. Most people see improvement within two to four weeks of consistent practice. Start with gentle poses, hold each position for 30 seconds to one minute, and never push through sharp pain. These movements work best when practiced daily or at least four times per week.
Why Yoga Works for Back Pain Relief
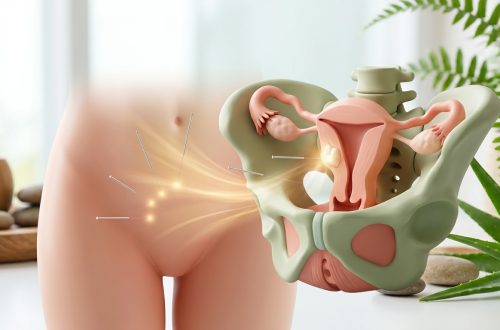
Your lower back carries the weight of your upper body every single day. It bends when you tie your shoes, twists when you reach for something in the back seat, and stabilizes your entire frame when you stand.
That’s a lot of responsibility for one area.
When muscles get weak or tight, your spine loses the support it needs. Yoga addresses both problems at once. The poses strengthen your core muscles, which act like a natural back brace. At the same time, they stretch tight hip flexors, hamstrings, and lower back muscles that pull your spine out of alignment.
Research backs this up. Studies show that people who practice yoga regularly report less pain intensity and better physical function compared to those who don’t. The improvements aren’t just in your head. Yoga actually changes how your muscles fire and how your joints move.
What Makes These Poses Different
Not all yoga poses help back pain. Some can actually make it worse if you’re not ready for them.
The poses in this article share three important qualities:
- They place minimal stress on your spine
- They can be modified for different fitness levels
- They target the muscle groups that most affect lower back health
You won’t find advanced backbends or extreme twists here. These are foundational poses that work for beginners while still providing benefits for experienced practitioners.
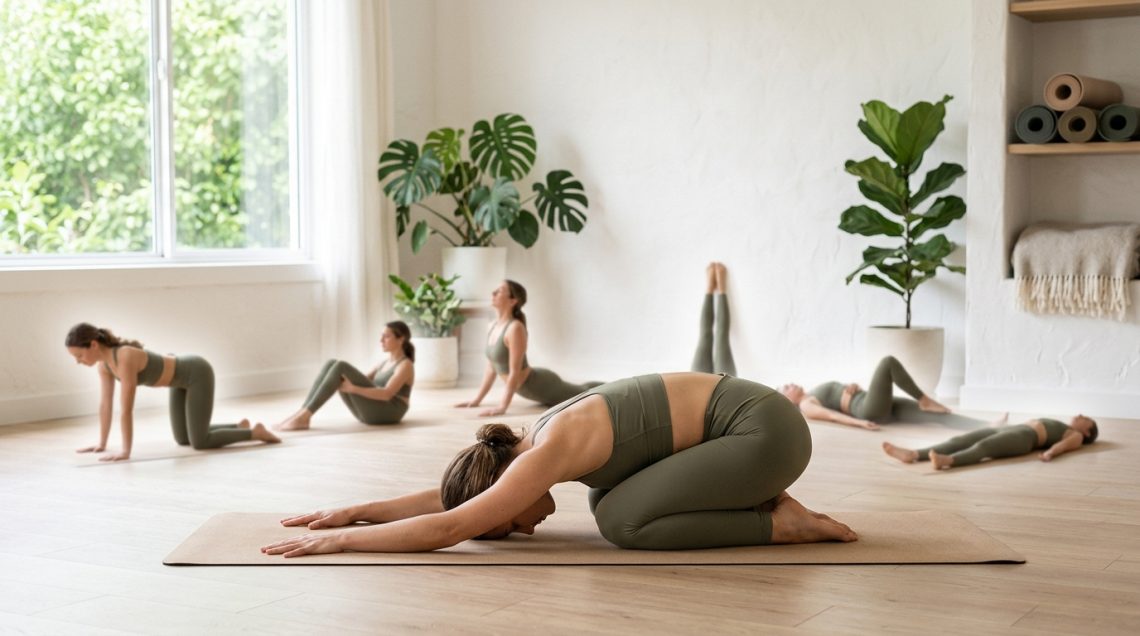
Seven Poses That Target Lower Back Pain
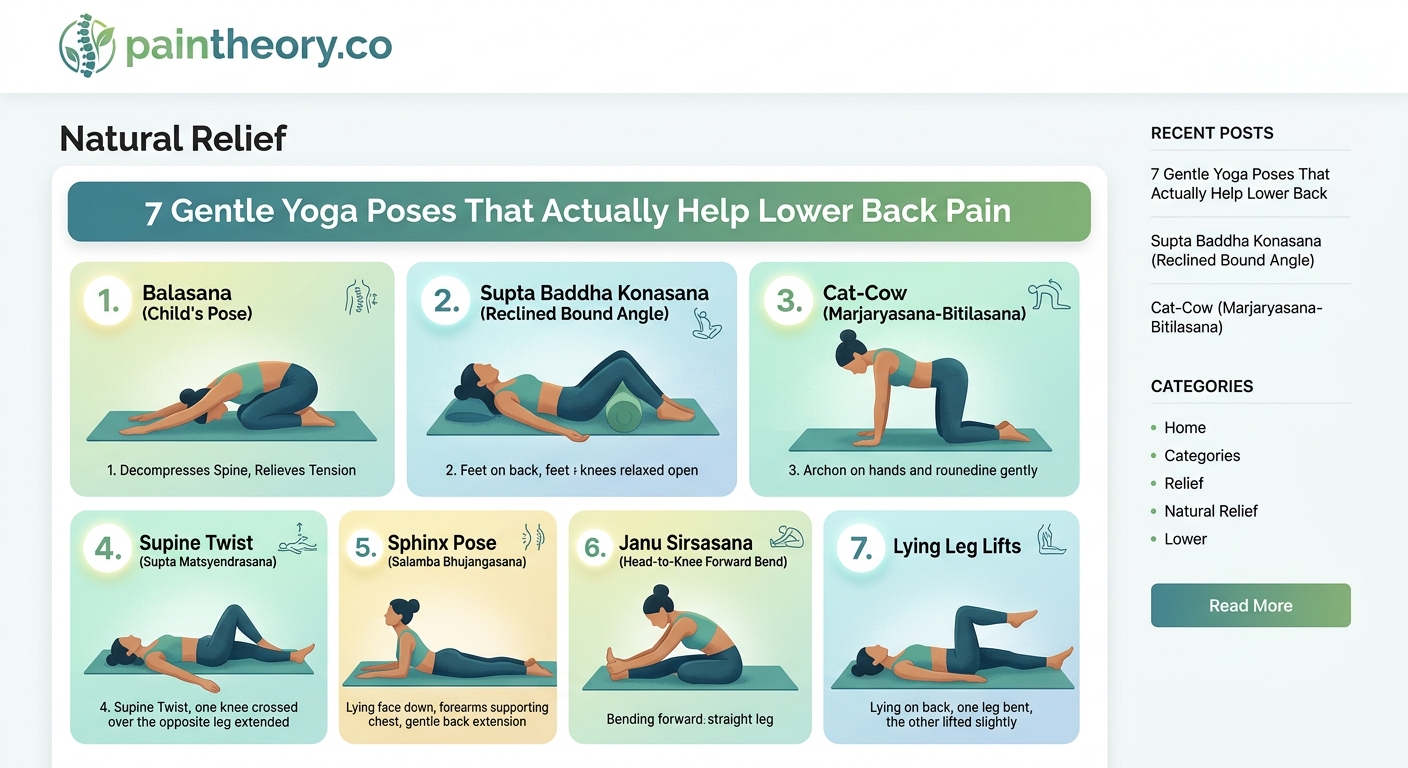
Child’s Pose (Balasana)
This resting pose gently stretches your lower back, hips, and thighs. It’s often used as a recovery position between more active poses, but it’s powerful on its own.
Start on your hands and knees. Bring your big toes together and spread your knees wide. Sit your hips back toward your heels and stretch your arms forward on the floor. Rest your forehead on the ground.
Hold for one to three minutes. Breathe deeply into your back body.
If your hips don’t reach your heels, place a folded blanket or pillow between them. If your forehead doesn’t touch the floor, stack your fists or use a yoga block.
Cat-Cow Stretch (Marjaryasana-Bitilasana)
This flowing movement warms up your spine and helps you find pain-free ranges of motion. It’s particularly helpful if you experience stiffness when your lower back pain gets worse at night.
Come to your hands and knees with your wrists under your shoulders and knees under your hips. For cow pose, drop your belly toward the floor, lift your chest and tailbone, and look slightly upward. For cat pose, press the floor away, round your spine toward the ceiling, and tuck your chin.
Flow between these two positions for 10 to 15 repetitions. Move with your breath: inhale for cow, exhale for cat.
The key is moving through your entire spine, not just your lower back. Think about creating a wave of motion from your tailbone to the crown of your head.
Downward-Facing Dog (Adho Mukha Svanasana)
This classic pose lengthens your entire posterior chain while building strength in your shoulders and core.
From hands and knees, tuck your toes and lift your hips up and back. Your body forms an inverted V shape. Press your hands firmly into the floor and reach your hips toward the ceiling. Your heels don’t need to touch the ground.
Hold for five to ten breaths.
If this feels too intense, bend your knees generously. You can also walk your feet out wider or pedal your feet one at a time to find more comfort.
Pigeon Pose (Eka Pada Rajakapotasana)
Tight hips are a common culprit behind lower back pain. When your hip flexors and external rotators get stiff, they pull on your pelvis and create stress in your lumbar spine.
From downward dog, bring your right knee forward and place it behind your right wrist. Your right ankle will be somewhere in front of your left hip. Extend your left leg straight behind you. Square your hips toward the front of your mat.
You can stay upright with your hands on the floor, or fold forward over your front leg. Hold for one to two minutes, then switch sides.
If your right hip doesn’t rest comfortably on the floor, place a folded blanket or yoga block under it. Never let your front knee torque to the side.
Sphinx Pose (Salamba Bhujangasana)
Gentle backbends can actually help certain types of back pain, especially if you spend most of your day hunched forward.
Lie on your belly with your legs extended behind you. Place your forearms on the floor with your elbows under your shoulders. Press your forearms down and lift your chest. Draw your shoulders back and down.
Hold for one to three minutes.
This pose creates traction in your spine and strengthens the muscles along your back. If it creates any pinching sensation in your lower back, place a folded blanket under your hips or come down to rest on your belly.
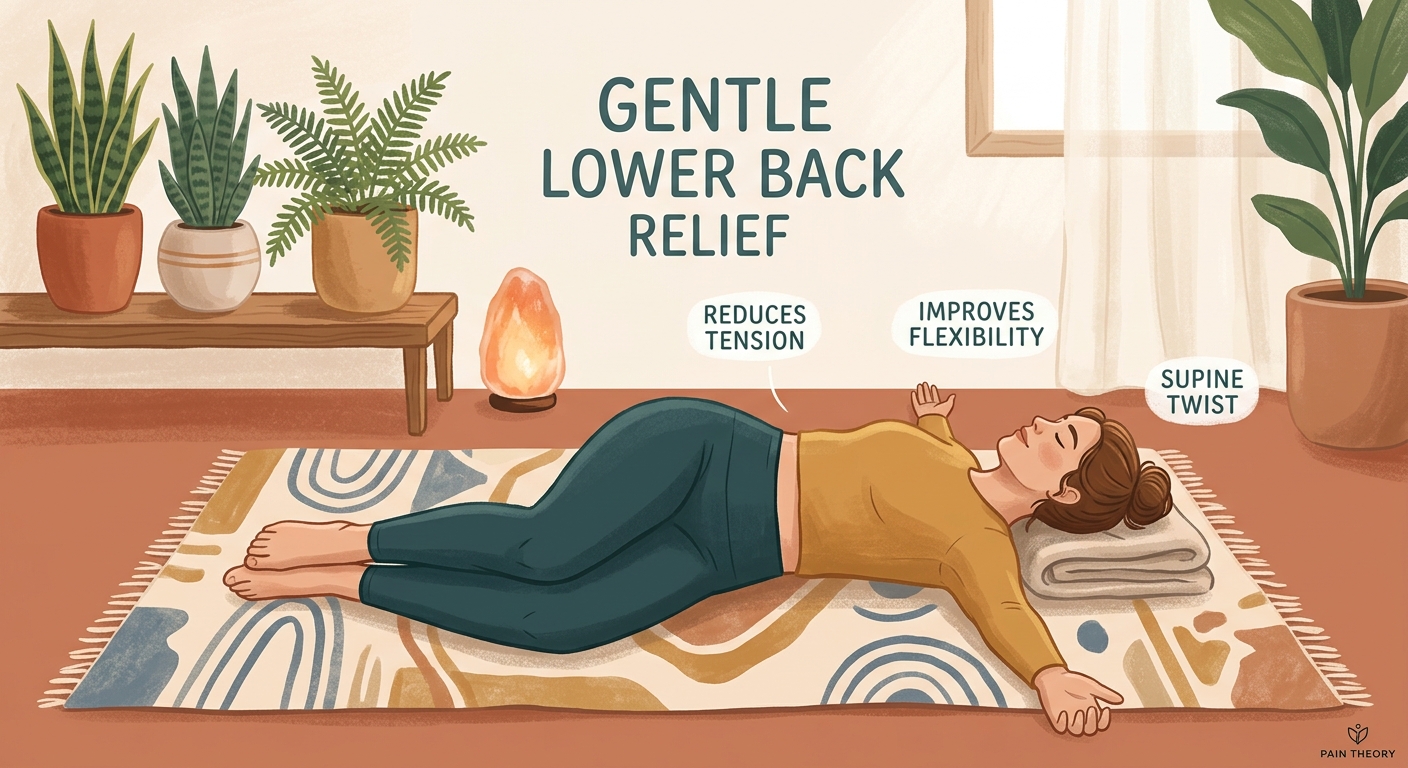
Supine Twist (Supta Matsyendrasana)
Twisting poses release tension in the muscles that run along your spine. This gentle version is safe for most people with back pain.
Lie on your back and hug your knees into your chest. Extend your arms out to the sides in a T shape. Let both knees fall to the right side. Your left shoulder might lift off the floor, and that’s fine.
Hold for one to two minutes on each side.
Keep your movements slow and controlled. If your knees don’t comfortably reach the floor, place a pillow or folded blanket under them.
Legs-Up-the-Wall (Viparita Karani)
This restorative pose reduces pressure on your lower back and helps calm your nervous system. It’s especially helpful at the end of a long day.
Sit sideways next to a wall. Swing your legs up the wall as you lower your back to the floor. Your hips should be close to the wall, but they don’t need to touch it. Your arms rest by your sides.
Stay here for five to ten minutes.
This pose reverses the effects of gravity on your spine and gives your back muscles a chance to fully release. Many people find it helps them sleep better when chronic pain keeps them awake.
How to Practice Safely
| Do This | Avoid This |
|---|---|
| Move slowly and mindfully | Bouncing or forcing positions |
| Breathe deeply and steadily | Holding your breath |
| Use props to support your body | Pushing through sharp pain |
| Practice on a non-slip surface | Practicing on a full stomach |
| Warm up before deeper stretches | Starting with advanced poses |
Listen to your body’s signals. Mild discomfort or a stretching sensation is normal. Sharp, shooting, or electric pain is not. Stop immediately if you feel any of those sensations.
Your pain might increase slightly after your first few sessions as your body adjusts to new movement patterns. This is different from injury pain. It should feel like muscle soreness, not joint pain, and it should improve within a day or two.
Building Your Practice
Start with just three poses. Practice them for five to ten minutes daily for one week.
Here’s a simple sequence for beginners:
- Cat-Cow Stretch (10 repetitions)
- Child’s Pose (2 minutes)
- Supine Twist (1 minute each side)
Once this feels comfortable, add one new pose each week. By the end of a month, you’ll have a complete practice.
Consistency matters more than duration. Ten minutes every day beats an hour once a week.
The best time to practice is when you’ll actually do it. Some people prefer morning sessions to loosen up before the day starts. Others practice in the evening to release tension that built up during the day.
“The most important thing in yoga is not to push yourself beyond your limits. The goal is to create space in your body, not to force it into positions it’s not ready for. With back pain, less is often more.” — Physical therapist and yoga instructor
Common Mistakes to Avoid
Many people hold their breath during poses. This creates tension in your body and defeats the purpose of the stretch. Focus on breathing deeply and steadily. Your breath should be smooth and even.
Another common error is comparing yourself to others or to images you see online. Your body is unique. Your version of a pose might look completely different from someone else’s, and that’s perfectly fine.
Don’t skip the modifications. Props aren’t for beginners only. They help you find the right position for your body today. Even experienced practitioners use blocks, straps, and blankets.
Rushing through poses is tempting when you’re busy. Resist that urge. The therapeutic benefits come from holding positions long enough for your muscles to release and your nervous system to calm down.
When to Seek Additional Help
Yoga is powerful, but it’s not a cure-all. Some situations require professional medical evaluation.
See a healthcare provider if:
- Your pain is severe or getting worse
- You have numbness or tingling in your legs
- You lose control of your bladder or bowels
- You have unexplained weight loss along with back pain
- Your pain started after a fall or injury
These symptoms might indicate conditions that need more than yoga. Understanding why pain becomes chronic can help you make informed decisions about your care.
Some people benefit from combining yoga with other treatments like physical therapy, massage, or medical care. There’s no shame in using multiple tools. Sometimes surgery becomes necessary for certain back conditions.
Making Yoga Part of Your Daily Routine
The hardest part of any new habit is remembering to do it. Set a reminder on your phone for the same time each day. Many people find that linking their yoga practice to an existing habit helps it stick. Practice right after you brush your teeth in the morning or right before you shower in the evening.
Keep your yoga mat rolled out in a visible spot. Seeing it reminds you to use it.
Start small. Even two minutes of child’s pose is better than skipping practice entirely because you don’t have time for a full session.
Track your progress in a simple journal. Note which poses you did and how your back feels. Over time, you’ll see patterns and improvements that motivate you to keep going.
Your Back Pain Relief Starts Today
You now have seven proven yoga poses that can help reduce your lower back pain. Each one targets the muscles and movement patterns that contribute to discomfort.
Remember that improvement takes time. Your back pain didn’t develop overnight, and it won’t disappear overnight either. Most people notice meaningful changes within two to four weeks of consistent practice.
Start with the poses that feel most accessible to you right now. Use modifications without hesitation. Breathe deeply. Move gently. Listen to what your body tells you.
Your lower back has been carrying you through life for years. These poses are your way of giving it the support and care it deserves. Roll out your mat and begin today. Your back will thank you.